How to finish a timber slab
There’s something about the smell of timber, the earthy aroma somehow makes you feel good. The majority of people who visit our workshop mention the amazing smell before addressing what they actually came for.
After letting yourself enjoy the scent, you’ll notice next our vast array of slabs on display; small large and everything in between, and species from messmate to cypress. Because we salvage all our timber from tree removals, we have a huge number of varieties to choose from.
The Wood Project can supply local timbers such as spotted gum and local sugar gum, salvaged from trees that are more than 100 years old. Imagine the unique character of the timber, it’s nothing like spotted gum flooring or plantation timber, which is almost never locally grown. If you’d like to know more about plantation timber, send us a message!
In this post, we want to talk about live edge timber slabs and how you can work with them. The majority of our slabs are milled to 55mm thick. A slab at this thickness takes around two years to dry, however a slab milled at 75mm takes more like four to five years to dry properly, and cannot be kiln dried.
Once a slab is ‘dressed’ it will typically end up around 50mm thick, which is perfect for working with. Occasionally we’ll get asked for thicker slabs – thank you, Pinterest – however thickness seems to be less of an issue once in our workshop – there are so many other choices! Often our customers visit with a particular idea in mind and leave with a completely different colour, size or shape of timber than what they had initially imagined.
A visit to our Hastings workshop is more than likely to set your creativity in motion, you may even walk out with with a new hobby!
All of our slabs have natural (‘live’) edges still in tact. We love to create live edge furniture for its uniqueness, warmth and character. Of course, it’s an option to remove the live edges, but we will always leave them on when milling to give you the option.
How do you flatten a live edge timber slab?
Most of our slabs in the workshop are already ‘dressed’, that is, put through the industrial sander, and flattened to 60 grit. At this stage you can get an idea of the character and grain in the timber. All of our slabs are priced individually, and the dressing is included in the displayed price.
Prior to being dressed, our slabs all look similar and quite grey. We can sell you a slab like this, straight out of the kiln, however it’s hard to see the unique detail in each.
The process to flatten and sand by hand is time consuming and labour intensive – hours with a router and jig to take off the high points – or might be ideal for you if you’re already set up to do this. If you would like to flatten and sand your slab yourself you’ll save yourself around $100.
Alternatively, a few passes through our industrial wide belt sander and your slab will be ready to be filled and fine sanded, ready for coating.
Finishing live edge wood
Now it’s time to sand that live edge! We use a Festool Orbital Sander, using approximately 60 grit (grind off) you gently sand the live edge. If there’s any bark still intact you’ll need to pull or gently chisel this off. Underneath this are amazing patterns, lump, bumps and out of this world character – and this is why we recommend keeping your live edge!
Once you have a smooth finish – don’t sand away too much as you will sand away the colour and texture of the live edge – change your pad to a 120 grit and give it the once over.
Finishing live edge wood with bark
We have never left the bark on our slabs. This is because if your slab is dry, the bark will naturally want to come off. There is no need to keep it on as there’s plenty of character underneath.
If the bark on your slab wants to stay on, be worried! It usually means the slab is ‘green’ – not dry. The best way to combat this is to buy kiln dried slabs. Our slabs are kiln dried to 10% moisture content, which is optimum for furniture making. You can’t get to this point by air-drying.
We have a kiln right here at our workshop. We load it ourselves and monitor it twice a day to ensure the right outcome for each kiln load.
If you work with a slab that is still ‘green’, it will soon be a problem. The moisture has to come out of timber, meaning the timber will move and warp, regardless of what you use to work with it – it will most likely end up as firewood.
We dry our timber under extremely controlled conditions. There is an art to ensuring your timber dries flat and doesn’t warp. Sometimes even the best-laid plans see slabs of timber well, not go to plan – we are dealing with nature here!
Even kiln dried it has 10% moisture – enough to wreak havoc with certain timber in our fluctuating Melbourne weather! If you want to know more about kiln dried slabs let us know!
Options available to help finish live edge timber
Finishing a live edge slab is really a matter of personal choice. You can add a black or brown bog to fill the cracks, use clear resin, you can leave it unfilled to enjoy the rustic feel (not recommended for bench tops for hygiene). We mostly finish with a matt 2 pac polyurethane which we outsource. Whatever you decide to do with your timber slab we can either advise you or simply do it for you!
Some customers will buy a slab, dressed and take it home to work their own magic, and some customers will choose a slab and ask us to have it finished ready for installation. Think kitchen benches, vanities, laundry benches, table tops, coffee tables, hall tables, shelves, bar tops and desks.
Some customers will have us fill and fine sand for them to take home to do the top coat. Whatever your creative endeavour, we can definitely get you started or get the job done for you.
Similarly if you love the idea of purchasing a sustainable piece of furniture, we have pieces ready to go in our show room. We have so many timber slabs air drying and waiting for the kiln, 2020 is set to be our biggest year yet!
-
March 2025
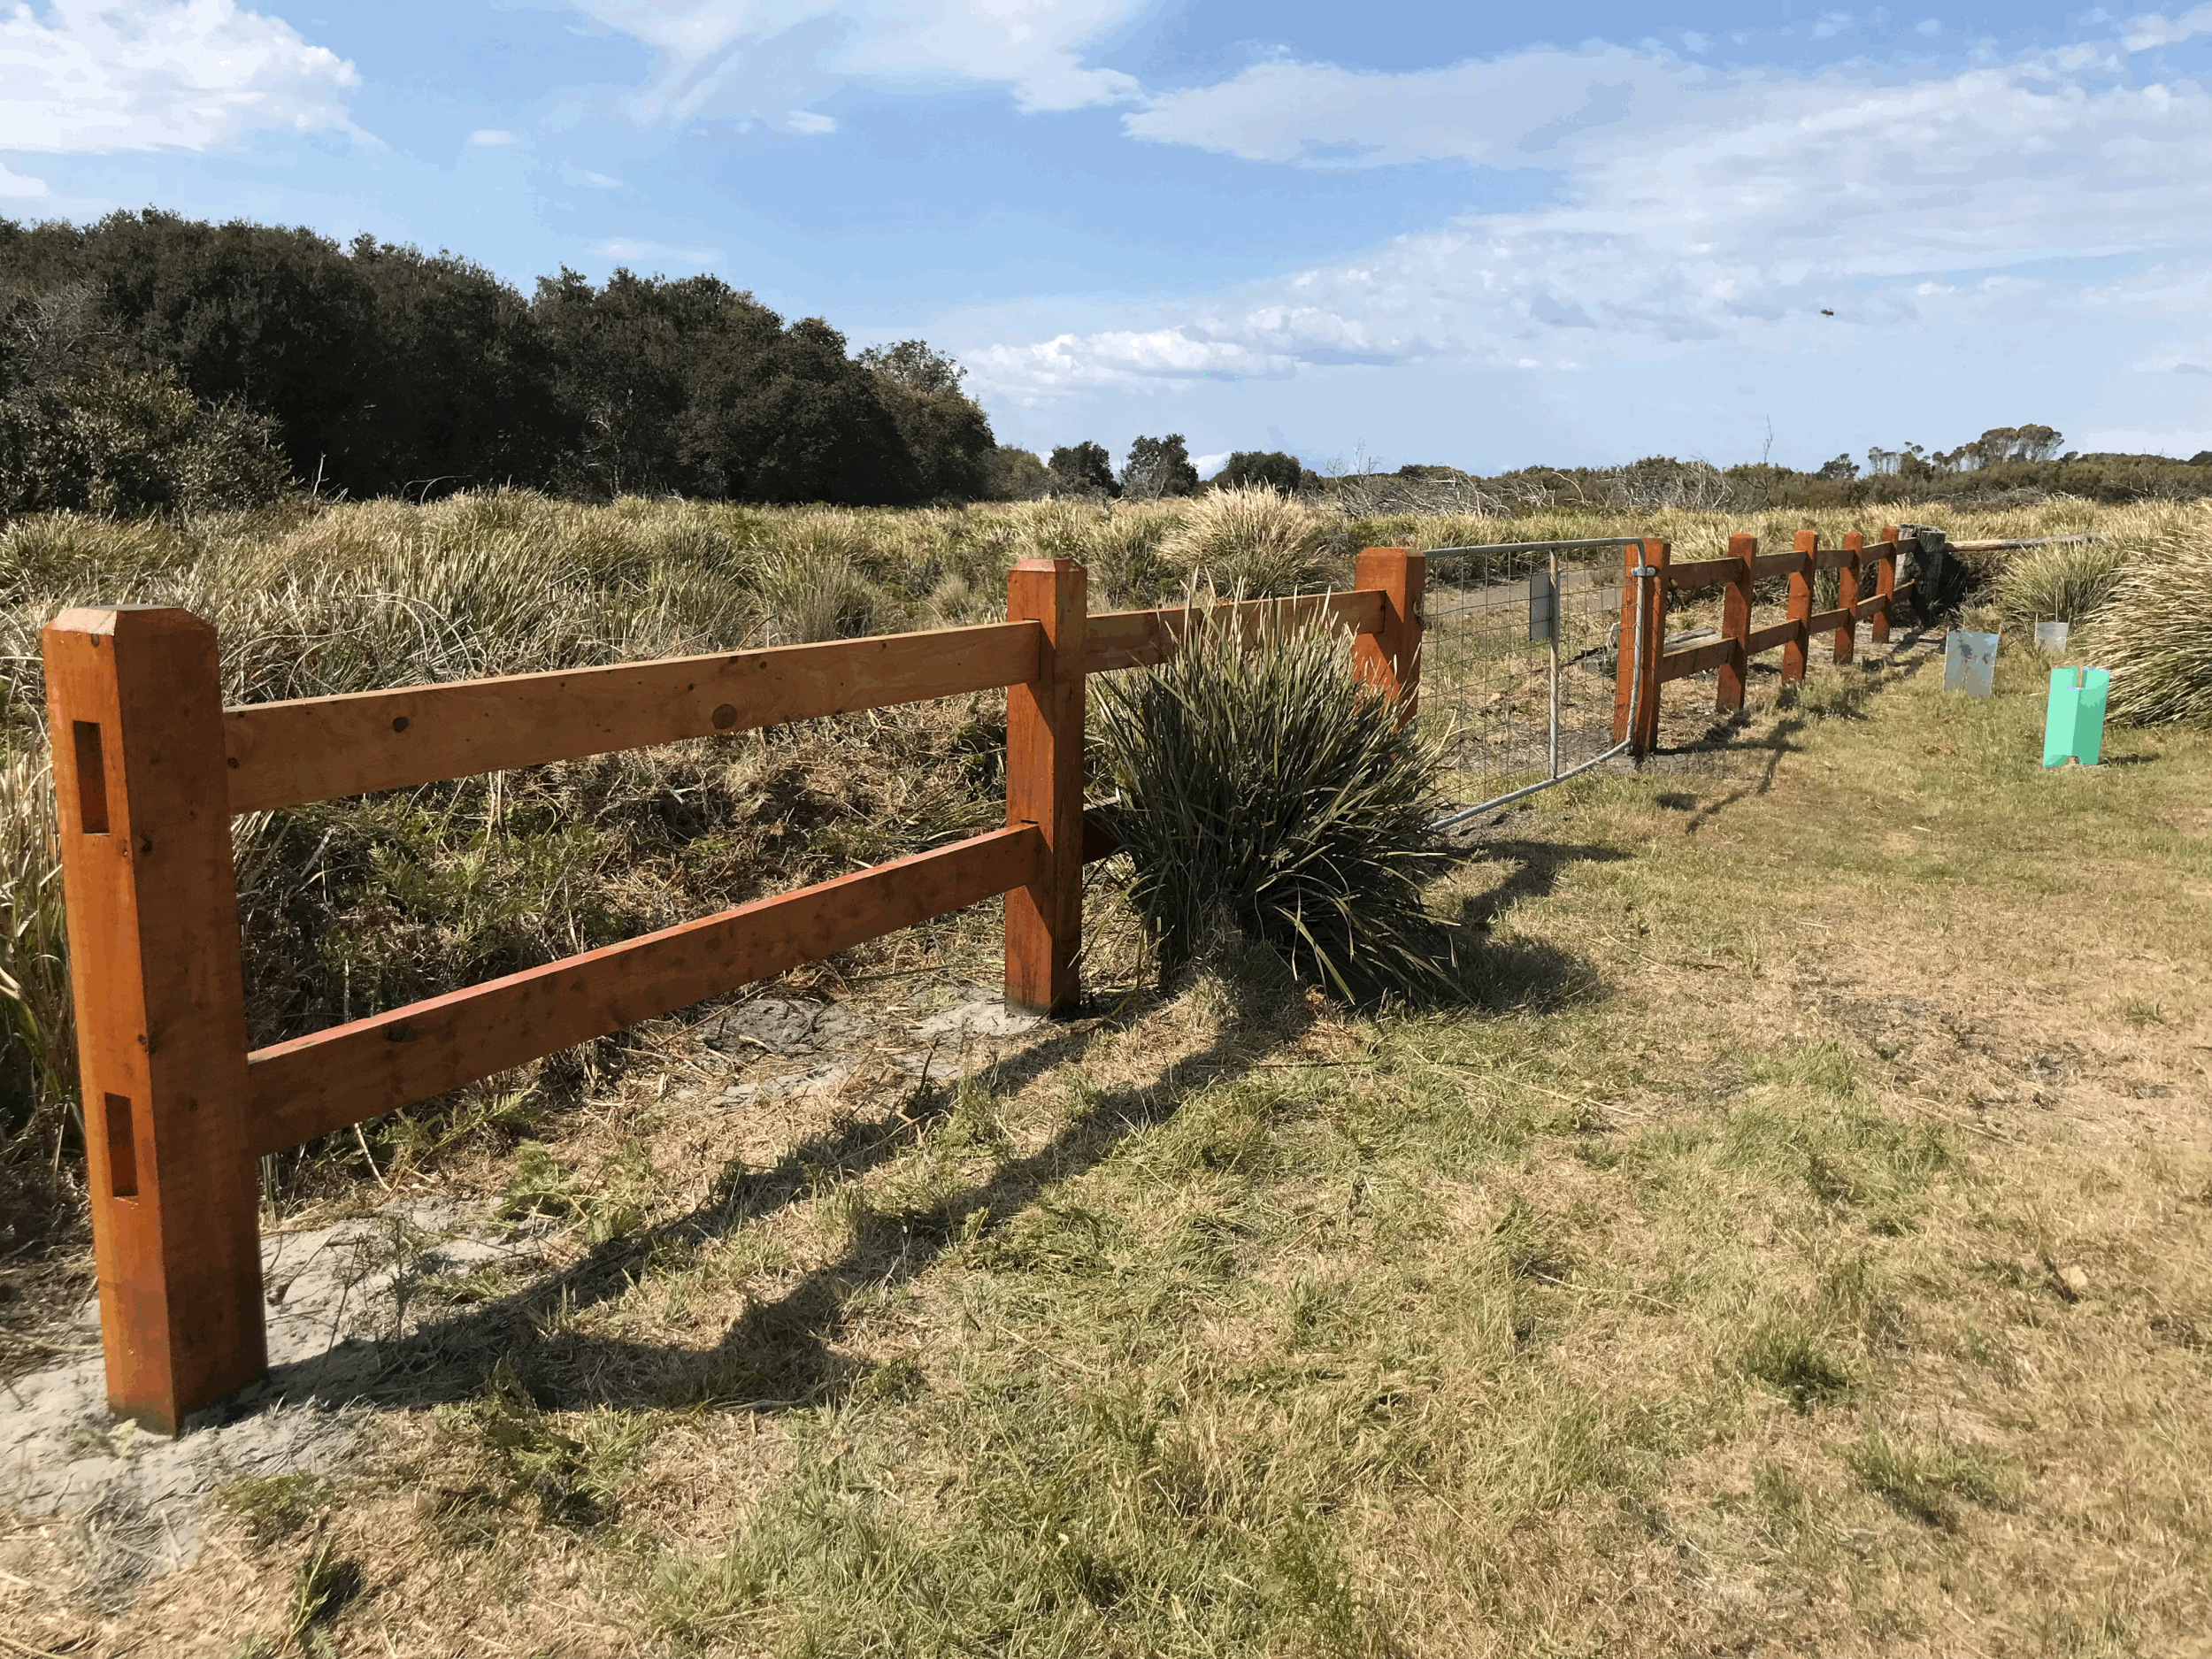
- Mar 20, 2025 The Different Types of Post and Rail Fencing Mar 20, 2025
-
August 2024
- Aug 14, 2024 How to Prevent Fungal Rot and Termites in your Timber Posts & Treat In-Ground Aug 14, 2024
-
August 2022
- Aug 25, 2022 How To Use Sawdust Aug 25, 2022
-
September 2021
- Sep 22, 2021 How to finish and resin fill a live edge slab Sep 22, 2021
-
May 2021
- May 12, 2021 Correct Post Installation for the Longevity of Your Fence. May 12, 2021
- May 12, 2021 How to Prepare Your Post and Rail Fence for Installation May 12, 2021
-
July 2020
- Jul 24, 2020 How much does a timber slab cost? Jul 24, 2020
- Jul 22, 2020 How Much Does Post & Rail Fencing Cost? Jul 22, 2020
- Jul 21, 2020 The benefits of a post and rail fence Jul 21, 2020
- Jul 21, 2020 How to finish a timber slab Jul 21, 2020
- Jul 17, 2020 A DIY guide to finishing a live edge timber slab Jul 17, 2020